I built a Vendor Risk Management app. I’m not a software engineer by training. My background is in IT administration, infrastructure, operations, security, and risk management. But over the years, I kept seeing the same problem: vendor risk programs were often spread across shared drives, spreadsheets, emails, and inconsistent review processes. And when looking for […]
Category: Personal
Categories
The Story Your Resume Can’t Tell
I have spent twenty‑three years inside the engines of three organizations. Five years in one, eight in the next, and more than a decade in the most recent. In IT, infrastructure, and security leadership, that kind of tenure is rare. People do not stay that long unless they are building something that lasts. Yet here […]
The moment in every job search when spreadsheets stops being a tool and starts being the problem. For me it came about one month in. I had applications scattered across three versions of a spreadsheet, resume files named things like Resume_IT_Director_v3_FINAL_v2.docx sitting in folders I could not reliably sync between my laptops and my phone, […]
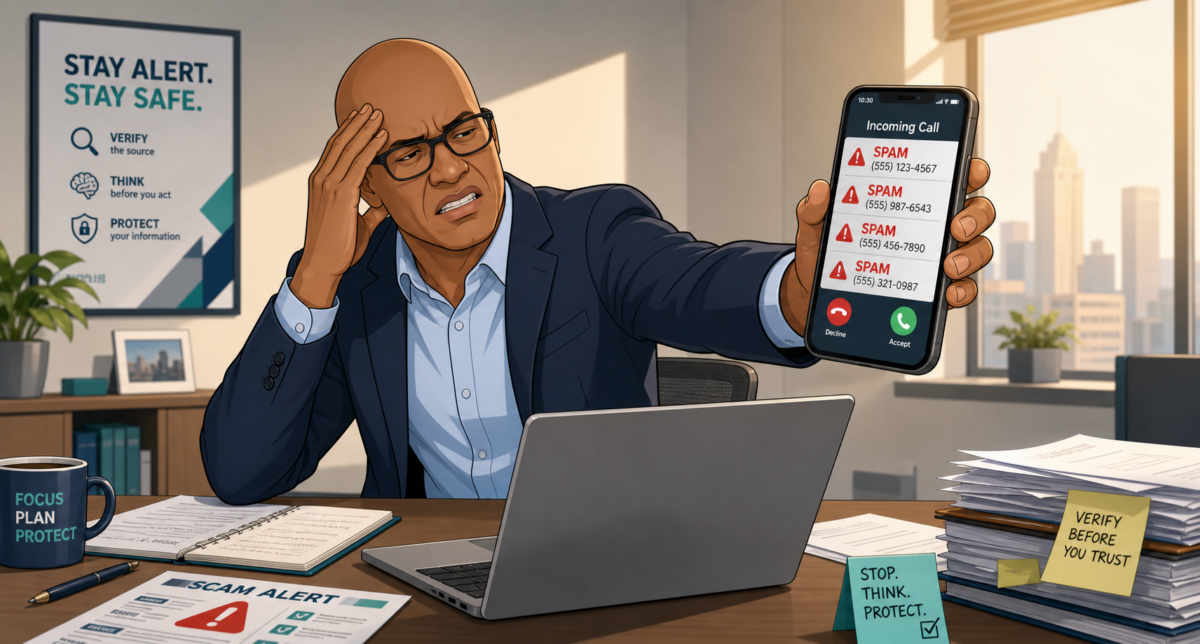
Many of us have all been there. The phone rings, you answer, and then… nothing. There is a brief, hollow silence for a few seconds before a voice finally kicks in or the line abruptly cuts off. It is easy to dismiss these moments as a bad connection or a simple wrong number. However, that […]
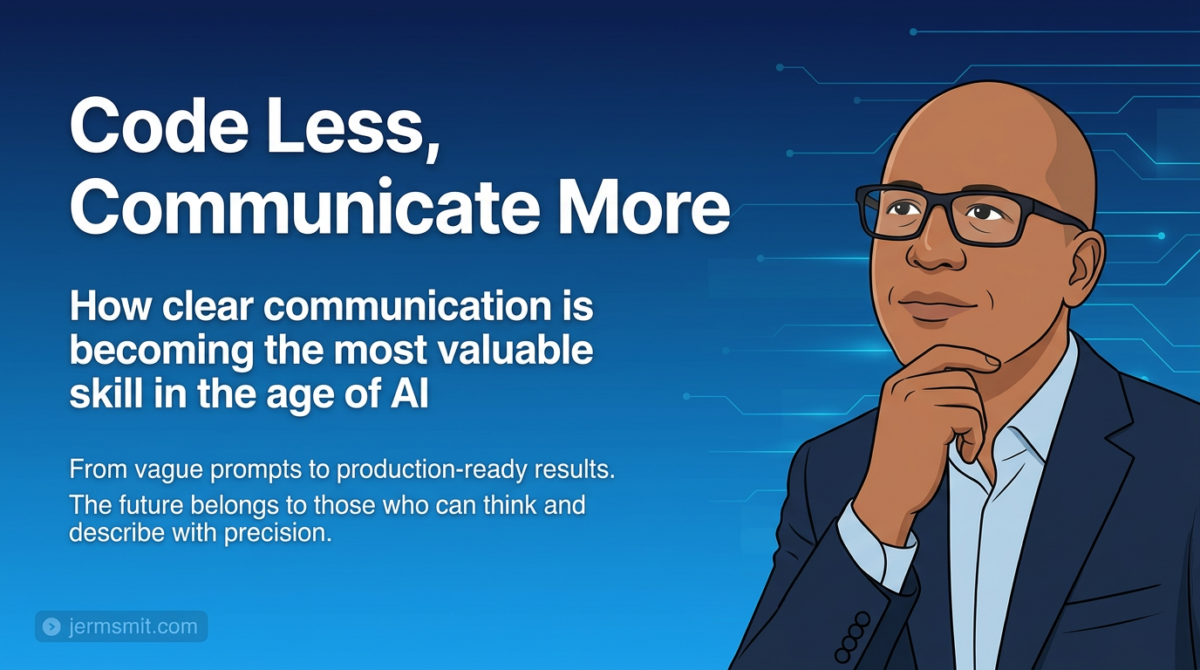
AI is no longer just a tool for specialists; it’s becoming a co-pilot for every engineer and innovator today. Tools like GitHub Copilot and Claude among others are churning out code faster than ever, handling boilerplate tasks and even suggesting optimizations. But here’s an insight many people are sleeping on: as AI democratizes software development, […]
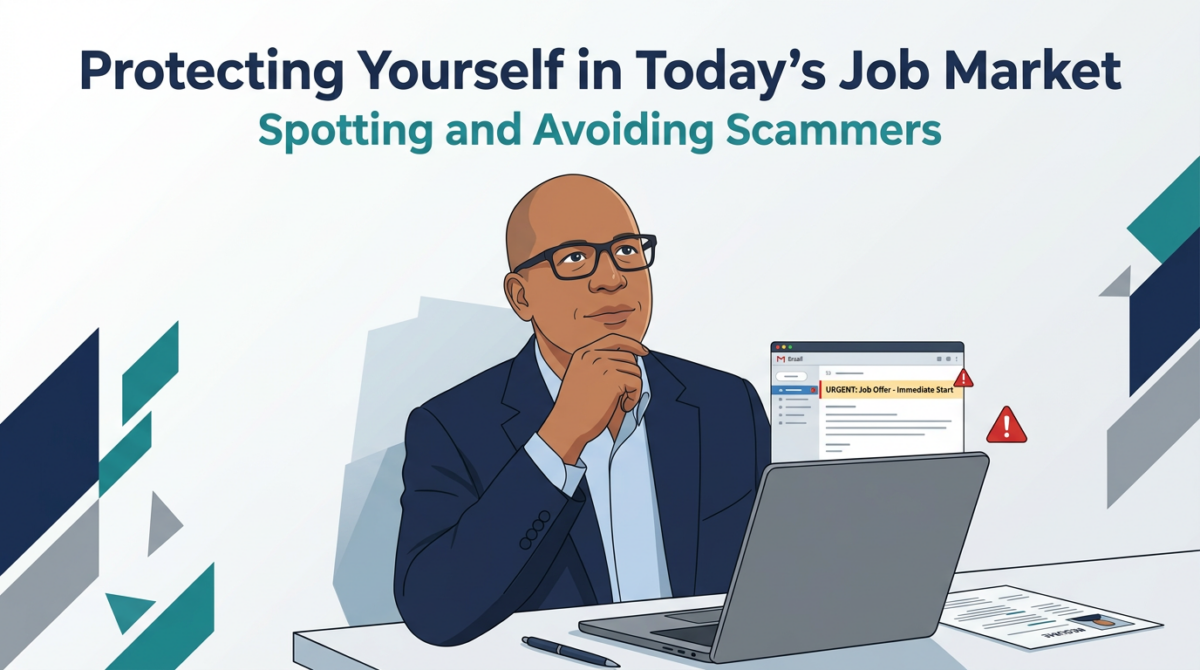
Over the past several weeks, I’ve been quietly exploring new opportunities. Like many professionals in transition, I’m looking for a role where I can build on my IT experience, contribute to strong company visions, and continue growing as a leader. Along the way, though, I’ve noticed something that deserves more attention: the rise of what […]